Cross processed effects can be great for giving photos an interesting look, and in some cases, it can add a bit of a vintage feel. We have a free Photoshop action for easily creating a faded cross processed look, and in this tutorial, we’ll show how you can create the same look from scratch in just 3 steps.
We’ll be using this sample photo.

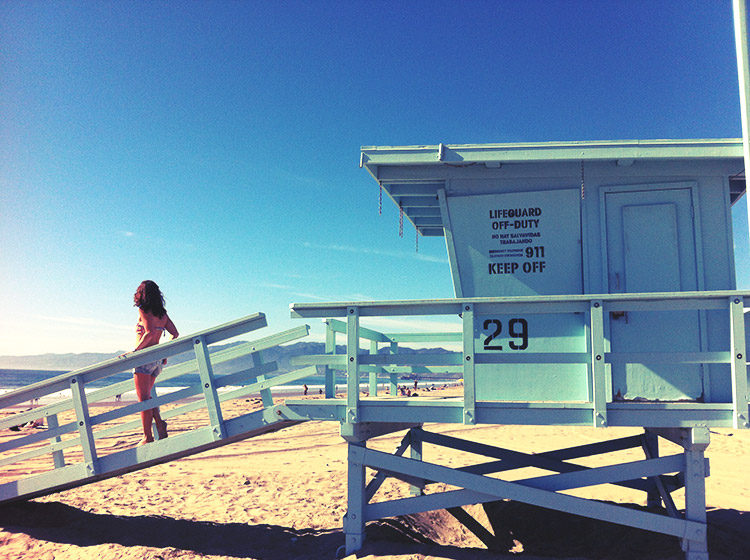
And here is the effect that we will be creating.

With this sample photo, it has a nice vintage look at the end.
During the process, we will be creating 3 different adjustment layers to get this effect. If you’re not familiar with how to create and adjustment layer in Photoshop, all you need to do is click on the icon shown below and then select the type of adjustment layer that you want.

Step 1: Curves Adjustment Layer
Add a curves adjustment layer and apply a curve like the one below.
This will give the faded effect by lightening the dark areas of the photo. Next, move to the red channel and apply an S-curve.

Then move to the green channel and apply a similar S curve.

Then we’ll move to the blue channel and reverse the S curve.

These changes to the red, green, and blue channels will create the cross processed look. At this stage, our photo looks like this.

Step 2: Levels Adjustment Layer
The next step is to add a levels adjustment layer and change the shadow input setting to 20 and the mid tone input setting to 1.10.
Step 3: Brightness and Contrast Adjustment Layer
The last step is to boost the contract by adding a brightness and contrast adjustment layer and setting the contrast to 25.
That completes the process, and here is our finished photo.
Don’t forget that you can get this effect very easily with the free faded cross processed Photoshop action.
Try to edit your photo in here: online photo editor


No comments:
Post a Comment